There’s something truly special about receiving a personalized Christmas card, it’s like a warm hug wrapped in an envelope. Whether crafting a heartfelt message for loved ones or sending festive greetings to friends far and wide, DIY Christmas cards are the perfect way to spread joy this holiday season.
Gone are the days of generic store-bought cards! With the right tools and a sprinkle of creativity, you can design stunning, one-of-a-kind cards that reflect your personality and style. Whether you prefer the tactile charm of a printed card or the interactive flair of a digital design, this guide has got you covered.
Roll up your sleeves (or warm up your mouse), and let’s dive into the merry world of DIY Christmas card designs that will wow your loved ones.
Tools and resources you need to design DIY Christmas cards
Before diving into your Christmas card designs, let’s gather everything you’ll need to make the process smooth and enjoyable. Whether you’re creating digital masterpieces or prepping for printable cards, these tools and resources will have you designing like a pro in no time.

For designing digital Christmas cards
- Remove-BG.AI: Easily remove backgrounds from your photos to create polished and professional stickers and transparent photos,…
- Adobe Express: Great for advanced design tweaks and animations for digital cards.
- Free Design Resources: Websites like Unsplash, Pexels, and Freepik offer festive images, icons, and patterns.
- Cloud Storage: Use Google Drive or Dropbox to save and share your digital designs effortlessly.
Resources for printable Christmas card designs
- Printer and cardstock: High-quality cardstock and a reliable printer are essential for vibrant, durable cards.
- Sticker paper: Perfect for creating custom stickers to enhance your cards or seal envelopes.
- Cutting tools: Scissors or a paper cutter for precision cutting of your designs.
- Decorative elements: Consider adding washi tape, glitter, or ribbons for a festive touch.
Optional tools
- Fonts and graphics: Download festive fonts and clipart from platforms like DaFont or Creative Market.
- Photo editing tools: Use SnapEdit or Photoshop for additional edits before integrating images into your card.
With these tools in hand, you’re ready to bring your Christmas card visions to life. Whether you’re keeping it sleek and modern or going full festive with all the trimmings, the right resources make all the difference
Also read: how to add christmas background to photo online
A step-by-step guide to designing unique Christmas cards
Creating your own Christmas card is like wrapping a little piece of your heart in holiday cheer. Whether you’re making digital designs to send with a click or printable keepsakes for loved ones to treasure, this guide will walk you through every step to make your cards extra special.
- Step 1: Pick the theme and style:
Start by thinking about the tone and vibe of your design. It can be traditional, modern, or a personalized one – you can even combine all the styles if you wnt.
- Traditional: Think cozy reds, greens, snowflakes, and timeless holiday motifs.
- Modern: Sleek designs with bold colors, clean lines, and chic typography.
- Personalized: Include a family photo, pet snapshots, or a fun memory from the year.
For digital cards, consider adding playful animations or a short, heartfelt video message to make it even more unique.
- Step 2: Add a personal touch with photos
Nothing says “from the heart” like a photo that tells your story. Choose a favorite picture to feature – family gatherings, snow-filled adventures, or even your pets in reindeer antlers.
Remove-BG.AI is an innovative online tool designed to make background removal effortless and efficient. Perfect for both beginners and professionals, it leverages AI-powered technology to automatically detect and separate the subject of an image from its background in just seconds. Whether you’re editing photos for personal use, marketing materials, or creative projects like Christmas cards, this tool simplifies what used to be a time-consuming process.

Creating a festive, polished photo for your Christmas card is easier than you think. Here’s how to use Remove-BG.AI to transform your images like a pro:
- Open your browser and visit Remove-BG.AI. The homepage is simple and user-friendly, you can access this tool from any device (laptop, IOS, and android device, etc)
- Click the Upload Image button in the center of the page and select the photo you’d like to use for your card.
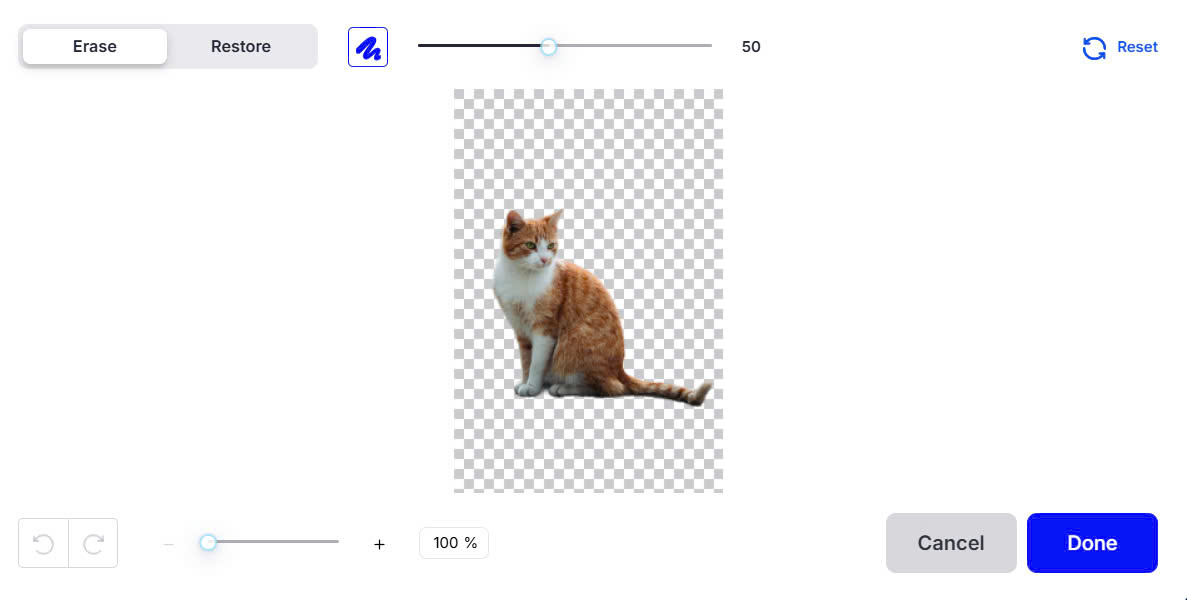
- Once uploaded, the tool will automatically detect the subject and remove the background in seconds. After the background is removed, you’ll see a preview of your image with a transparent background.
- Use the Edit Cutout option to refine the edges if needed. The brush tool lets you erase or restore parts of the image with precision
- Click on “Add Background” to choose a new backdrop.
- Browse the library of ready-made options, such as snowy landscapes, twinkling lights, or classic holiday patterns. You can also upload your own background if you have something specific in mind.
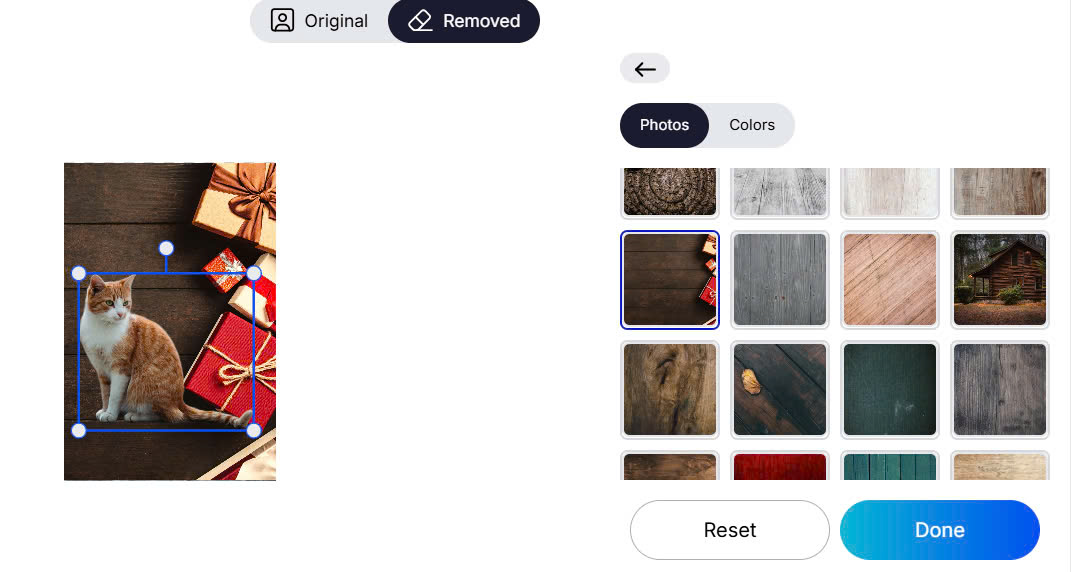
- Adjust the positioning of your subject on the new background. Resize or rotate the image to fit perfectly within your design.
- Once you’re satisfied with the result, click Done and then click Download to save your image. Choose the desired file format (PNG is ideal for further editing) and resolution for the best quality.
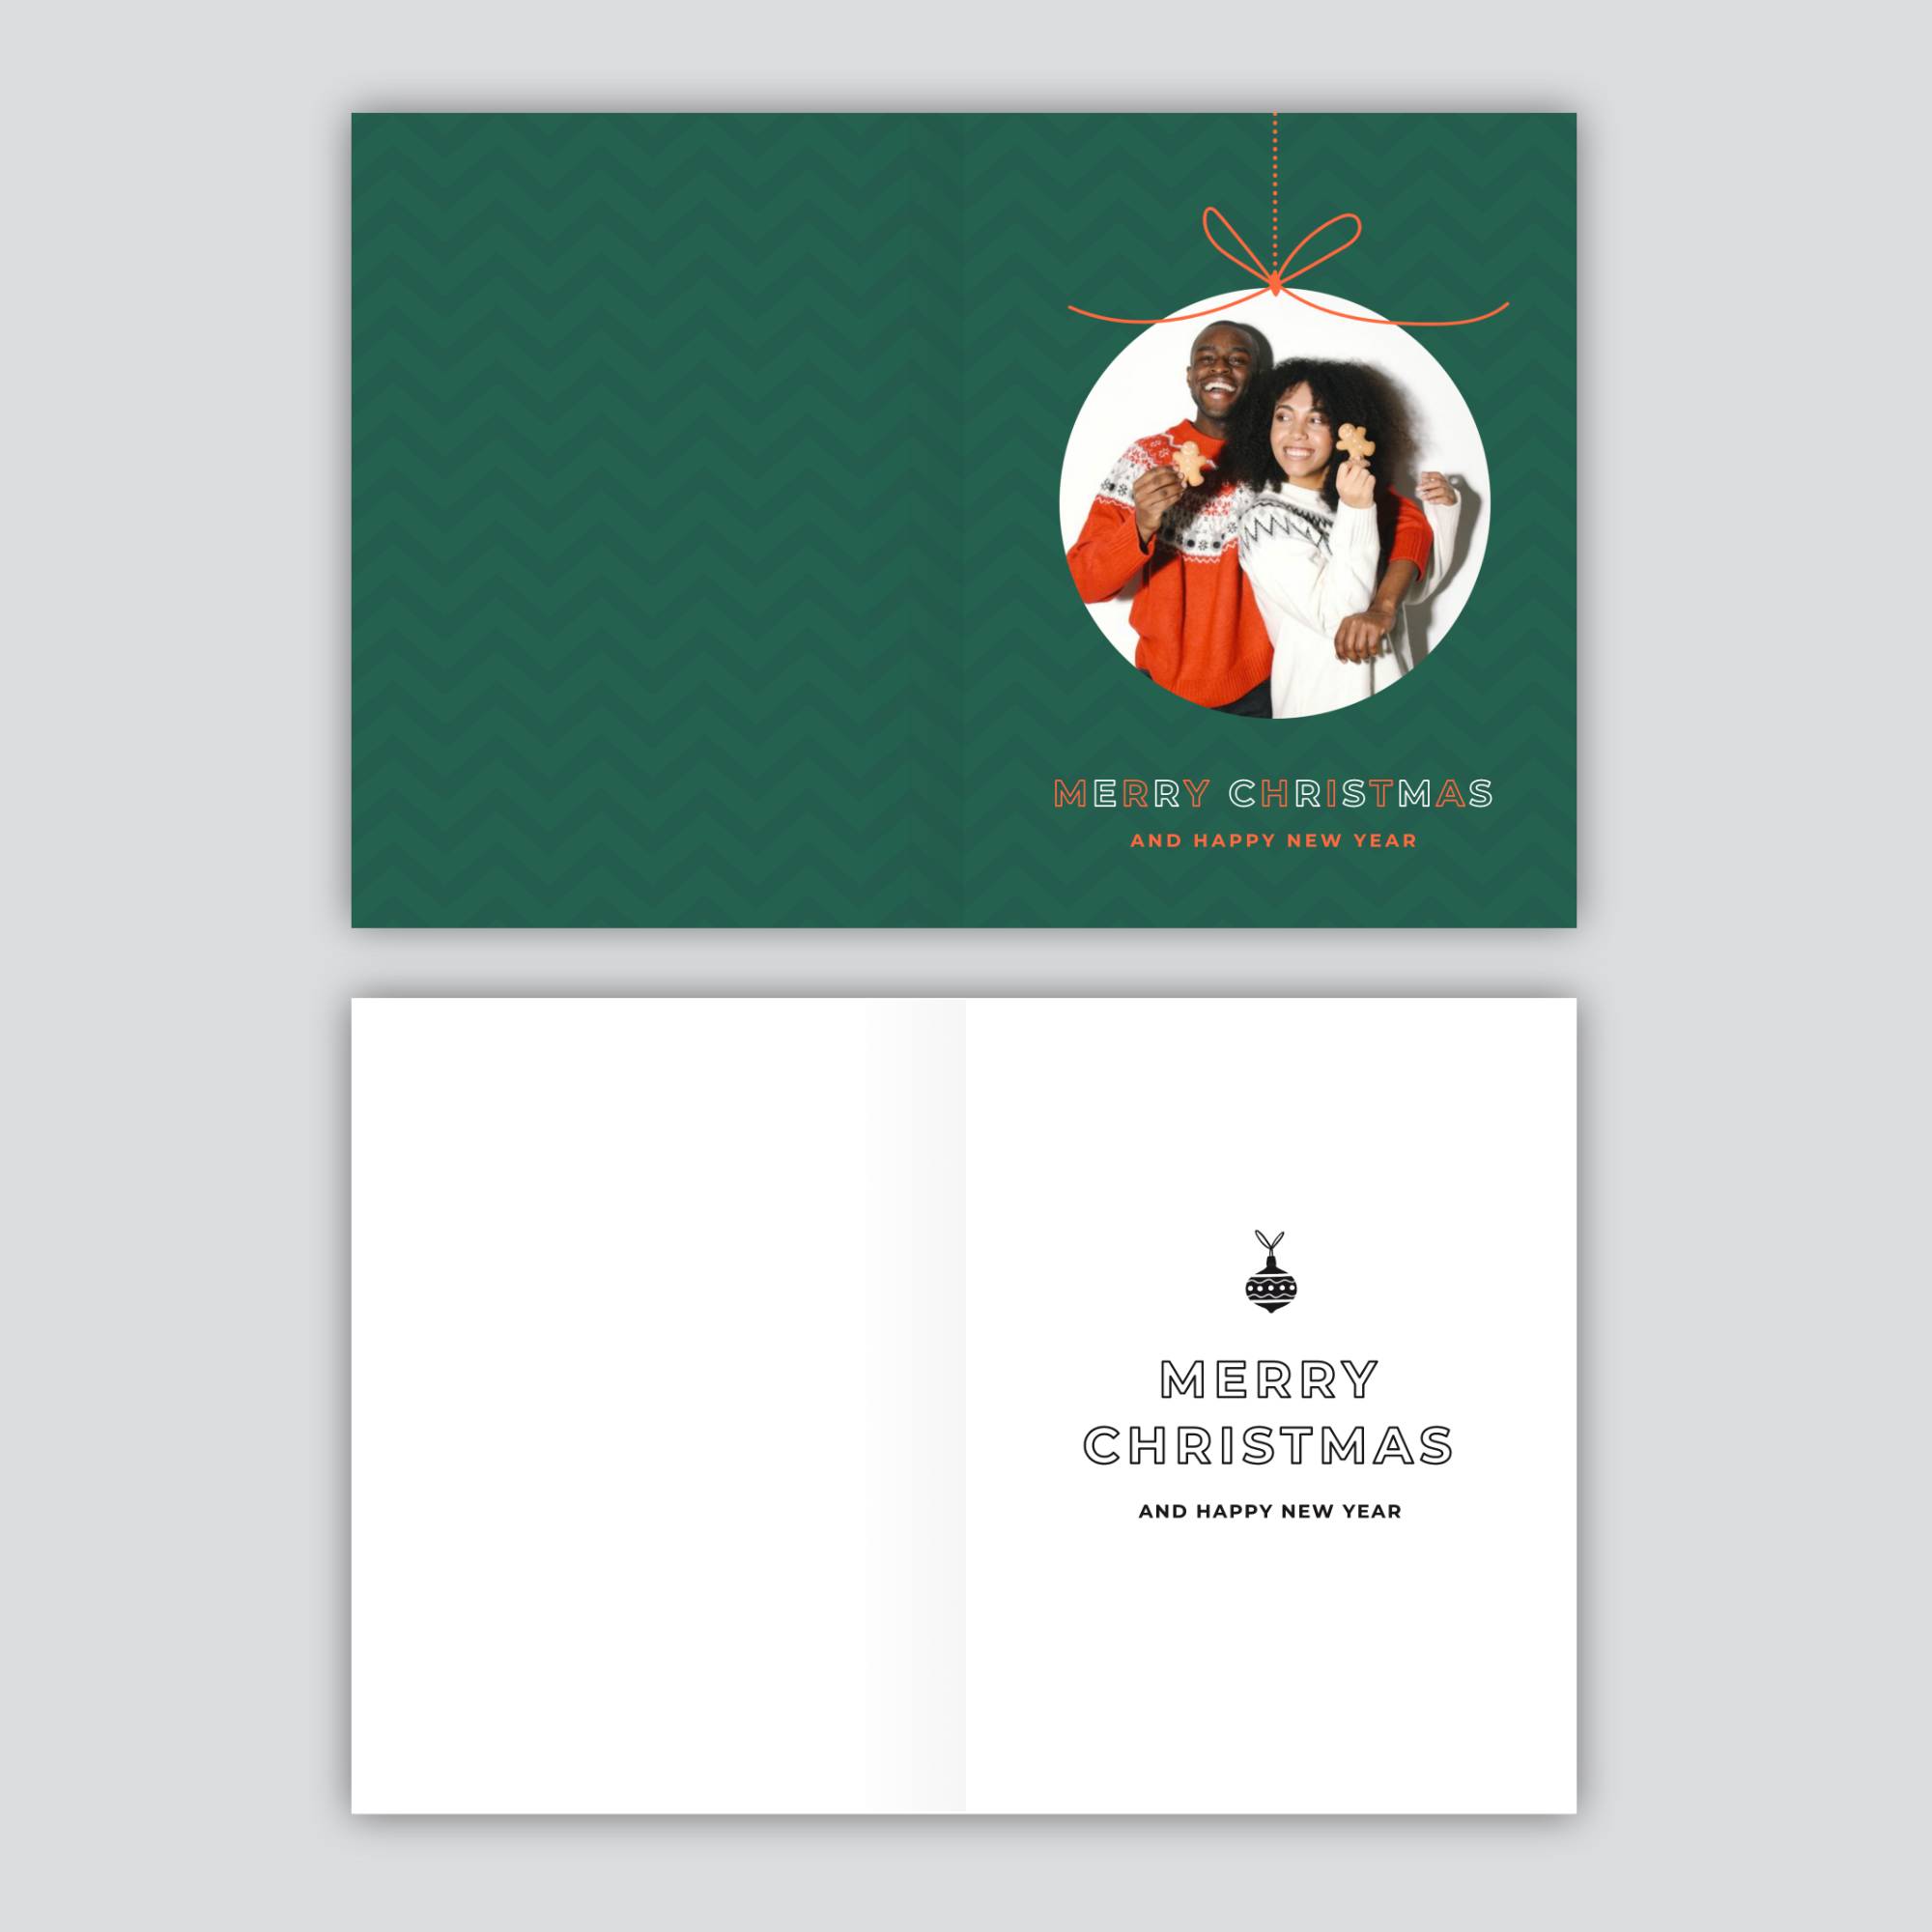
With these simple steps, you’ll have a stunning, festive photo ready to make your card shine. You can turn the cutout images into fun stickers or use your edited photo as the centerpiece of your Christmas card. Upload it into your chosen design platform, like Adobe Express, and let your creativity flow
- Step 3: Choose your design tool
Depending on your editing skill, you can choose any design tool you’re comfortable with:
- Adobe Express: Perfect if you want more control and professional-looking designs.
- Google Slides/Microsoft Word: Great for simple layouts that still pack a festive punch.
Pick the one that feels right for you fancy tech skills are required.
- Step 4: Add finishing touches
Now it’s time to sprinkle that extra holiday magic onto your Christmas card! These final touches will make your design shine and leave a lasting impression on your recipients.
- Add a personal message
Write a heartfelt or cheerful note that fits the spirit of the season. Whether it’s a simple “Merry Christmas!” or a more personal message for each recipient, your words are what make the card truly special. Use elegant or festive fonts to complement the design – think script styles for a classic vibe or bold, playful fonts for a modern touch.
- Include decorative elements
Use subtle details like snowflakes, sparkles, or holly branches to fill in blank spaces without overwhelming the design. Add borders or frames to tie the elements together. Gold foil effects or candy-cane stripes work wonderfully for a festive look.
Take a moment to admire your creation – you’ve designed something that’s uniquely yours
- Double-Check Your Layout
Review your card for balance – ensure your photos, text, and decorations are well-spaced and don’t feel cluttered. Align elements to keep the design neat and professional.
- Save in the Right Format
Save your card as a PDF (for printing) or PNG (for digital sharing). If you plan to send your cards online, compress the file slightly to make sharing easier while maintaining clarity.
- Step 5: Prepare for Delivery
For printed cards: Print on high-quality cardstock paper for a professional feel. Add glitter, ribbons, or stickers for an extra festive touch.
For digital cards: Send via email or messaging apps, or post on social media with a heartfelt caption to spread joy far and wide.
Festive tips for DIY Christmas card designs

Create digital Christmas cards
Digital Christmas cards are a modern way to spread holiday cheer with convenience and creativity. They’re perfect for sharing with friends and family across the globe, and you can design them just as beautifully as traditional cards. With digital cards, you can even a touch of magic with GIFs or short videos that bring your card to life.
Make custom stickers for print or digital Xmas cards
Custom stickers are a delightful way to add a playful, personalized touch to your Christmas cards. Whether you’re designing physical stickers to stick onto envelopes or digital ones to embellish e-cards, this fun extra can make your cards unforgettable.
You can use Remove-BG.AI to remove the background of any photo and save the edited image with a transparent background (in PNG format). Then use Canr other software to add borders, shadows, or festive embellishments like holly leaves, sparkles, or ribbons to enhance the cutout.
You can use the stickers in your daily chat, your e-card, or print them out and stick it to your physical card.
Wrap it up
Creating your own DIY Christmas cards is more than just a fun project – it’s a heartfelt way to spread holiday cheer. From removing photo backgrounds with tools like Remove-BG.AI to crafting stunning designs , the process lets your creativity shine and adds a personal touch that store-bought cards simply can’t match.
Whether you choose to print your cards or share them digitally, the joy they bring to your loved ones is priceless. And don’t forget to experiment with bonus touches like custom stickers to make your designs even more magical.
This holiday season, let your imagination lead the way and create something uniquely you – Because nothing says Merry Christmas better than a card crafted with care and love.
Last updated by: admin on 01:59 - 28/06/2025


